Written by Jonny Bird
I still remember the excitement of that first parcel arriving in the post – my own set of DMM nuts, fresh from North Wales, delivered to my university flat in Leeds.
Through my teens I had climbed regularly indoors, alongside bits and pieces of outdoor sport climbing and bouldering – but having arrived in Leeds ready to start Uni, I had been thrust into a world of Yorkshire gritstone – a world dominated by trad climbing.
Having worked the previous summer, I decided this was the moment to do it – to invest in my own personal trad rack. But with so many shiny bits of metal, so many opinions on what the essential items are – where do you start?
Some advice… before you spend all your money
If you will allow me, I will offer some advice to all those starting on their trad journey – climbing kit can be expensive. When I go for a run, I put on a pair of trainers and head out (I appreciate many runners now leave the house with a small village of accessories around their body, but I am perhaps more old school). However, starting to build your trad rack is going to set you back several hundred pounds, and given that a lot of this kit will keep you safe, I would not recommend short cutting this – it is expensive, but safety can be expensive.
When you first start out, my recommendation would be to go climbing with others who already have all the kit you need and that you trust. The likelihood is that they will have some good experience to go with this kit, and can help both provide the physical equipment and helpful hints and tips for climbing well and safely.
If you have a regular climbing partner, perhaps have a chat about how you could split the cost between you? I have done this in the past, where we agree what we would each buy, and then between us we can bring a full rack for a day climbing.
Now then, if you have read all the above and have your contactless card ready to go – here are some of my tips for building your trad rack, sensibly, gradually and without buying three times as much kit as you need! It assumes that you already have a helmet, harness and shoes!
First line of defence: Your Rope
Your rope is your first line of defence – the thing we rely on every time we climb. Ropes are expensive, but if looked after, can last a decent amount of time.
This is a great first investment as it can be used indoors, and outside across the disciplines. For a first rope – I would recommend getting a 50-60m single rope that is 9-9.5mm thick. This will be able to cover most types of climbing and most indoor walls.
To prolong the life of your rope, store it in a dry environment away from any UV light. Often manufacturers guarantee rope life to be up to 10 years, however frequent checks for damage are good practice, and if you are climbing regularly there is a good chance it will need to be replaced before this!
There are loads of good brands that make quality ropes – we currently use a mix of Beal, Simond and Edlerid ropes for work.
Passive protection: nuts and hexes
Nuts and hexes were some of the first protection used by early trad climbers – shoving bits of metal into cracks before clipping the rope in for safety was a big improvement from “just don’t fall”.
These types of protection come in a range of sizes, and can often be bought in a ‘kit’ from manufacturers or climbing shops. Getting a set of around 10 nuts and 3-4 hexes can be a good basis for your rack.
It is worth saying, with the growth in popularity of cams (see below), many climbers will not carry hexes on their rack. The advantage of fast placement, and use in parallel cracks has set cams as a firm favourite amongst climbers around the world, making hexes seem a little old school.
However, I still think there is a place for hexes – especially on certain rock types that lend themselves to usage. The other added advantage of hexes over cams is price – you can often get a set of 4 hexes for the price of a single cam!
When I am out climbing I find that I will always carry cams, and sometimes carry hexes – but when I do carry hexes, I always seem to end up using them! Read into this what you will!
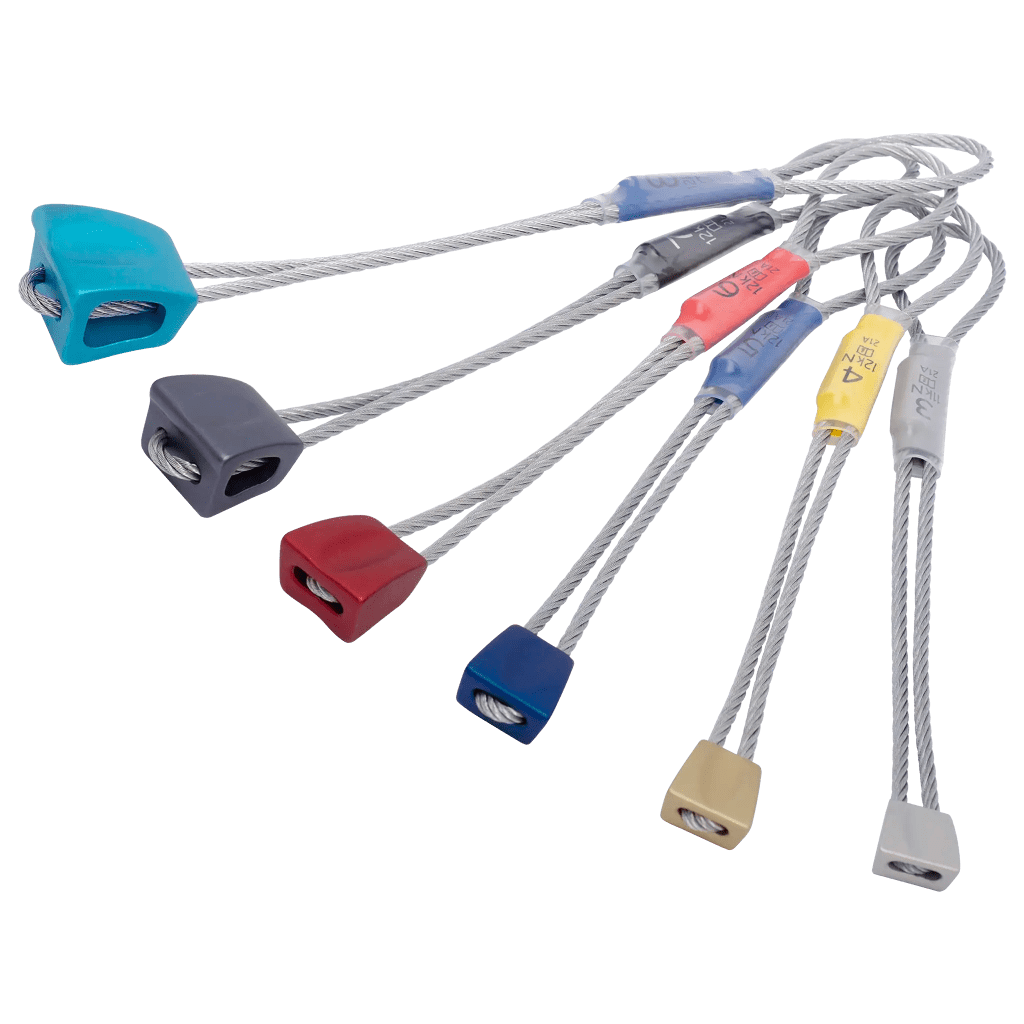
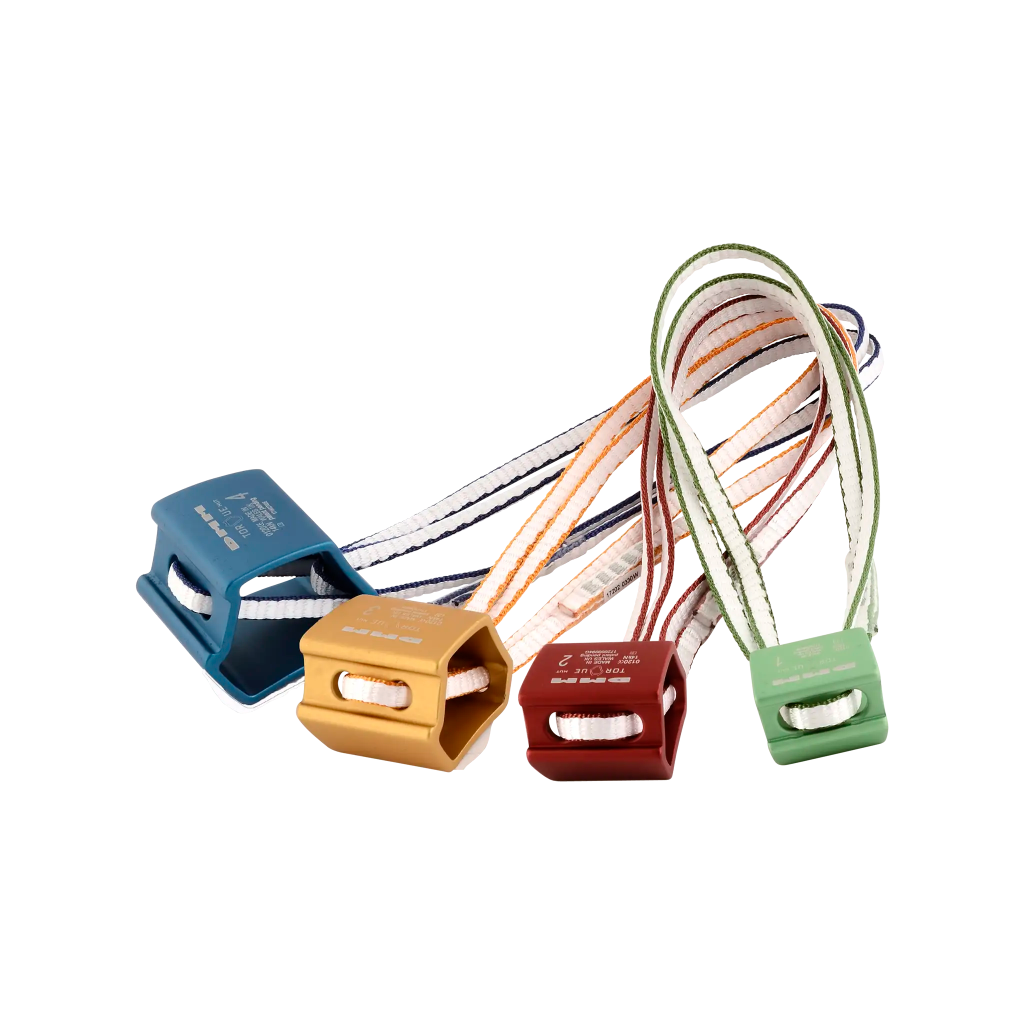
Active protection: camming devices (a.k.a cams)

Having a bit of kit that expands to fit the space it is placed in is a genius idea! Ask most climbers and they will tell you how satisfying a good cam placement can be.
These are the most expensive bit of kit on a standard trad rack – the complexity of the mechanism and moving parts means they are more expensive to manufacture owing to the added cost. However, they can be really good at keeping you safe on climbs where passive protection doesn’t quite seem to fit.
I would not recommend going out and buying a full set of cams like in the image above – unless you are in a very financially fortunate position! Rather, I would get 3-4 cams across the range that are best suited to the rock type you are climbing most frequently.
Placing cams well can take a bit of practice, but if placed correctly they can be really strong at holding a leader fall.
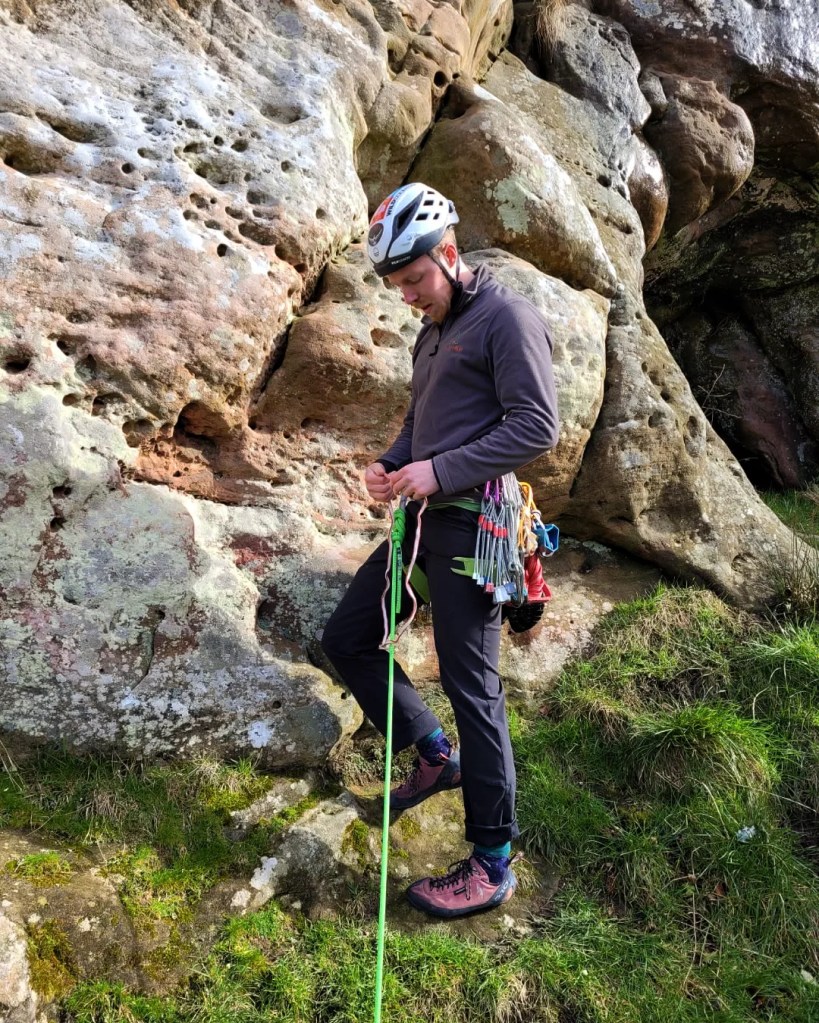
Other bits and bobs: slings, carabiners, quick draws and prussiks
Just when you were thinking: we must be nearly done now! Well yes, and also no!
In addition to the above protection, there are a few additional bits and pieces that will be needed to be out trad climbing independently.
Firstly, quickdraws – like with sport climbing, you need something to clip into your placed protection. You will need a quick draw (or slung carabiner on a cam) for each piece of protection you place on a route: this should give you a good idea of how many would be useful.
Slings – these can often be over looked, but having a few different lengths of dyneema sling on your harness is invaluable. I will often use them for extending bits of gear to reduce rope drag, building belays or as a backup quickdraw for if I run out mid-climb.
Carabiners – specifically three screw gate carabiners for building an anchor at the top of your route. While there might be times where you would partially build an anchor using snap gates, it is always best practice to carry up screw gates for this purpose.
Belay plate and prussik loop – an obvious one, but you will need something to belay with! A belay plate, along with a screw gate carabiner that fits it well is a must to be able to belay your partner. A prussik loop (and the knowledge of how to use them) is great for abseiling back down from a route too.
Nut removal tool – this one seems like a less important bit of kit… until you get a nut stuck in a crack and have to leave it there! I would always have one of these between myself and my partner for the sake of keeping hold of my expensive protection and not leaving it in the rock for someone else!
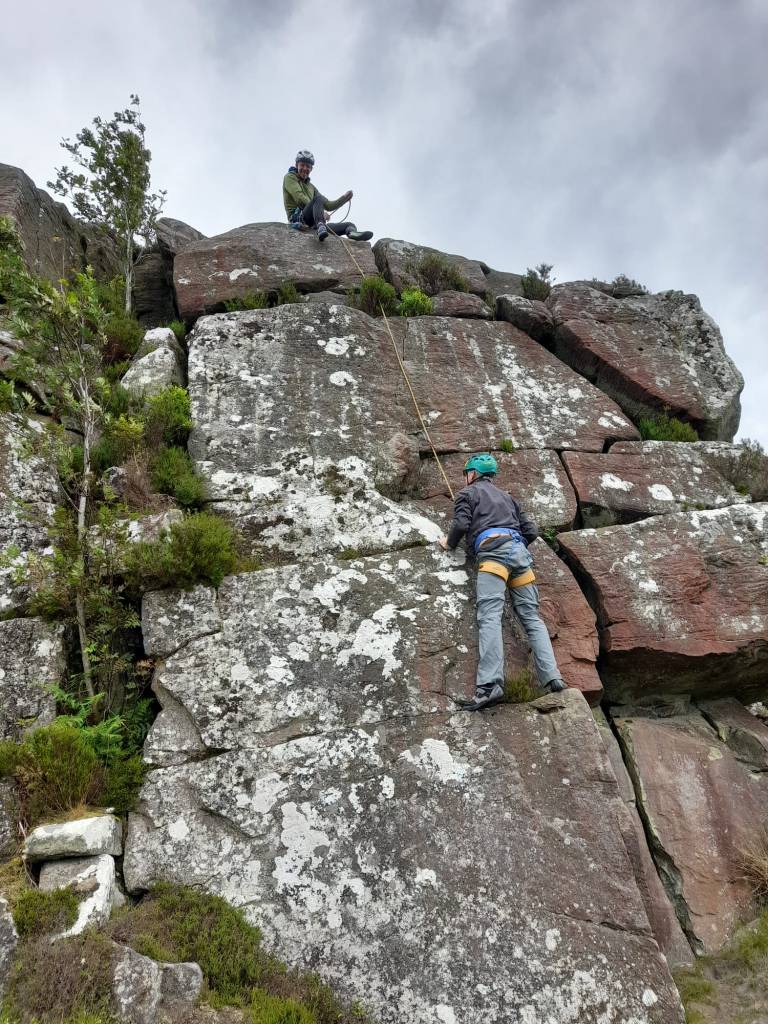
Finally, and most importantly, know how to use your kit!
It goes without saying (but I am going to say it anyway), that all of this kit only keeps you safe if you know how to use it! A badly placed nut is unlikely to hold a fall, a nice new shiny rope only works with proficient rope work – you get the idea.
It is always recommended to follow best practice, book a professional to help you learn, join your local mountaineering club or learn from a more experienced friend – we did all of these on our journey into trad climbing!
Happy climbing – may all of your shiny kit fill your head with adventures and not stay very shiny for long!
We have used black diamond, DMM, Wild Country and other great brands over the years, they all have pros and cons. Chose a mainstream brand that you like, with all the certifications and avoid any dodgy brands you haven’t heard of!
Recommended Links
DMM youtube channel (lots of great how to videos) https://www.youtube.com/@dmmclimbing81
Guide to buying a rope https://rockrun.com/blogs/the-flash-rock-run-blog/climbing-rope-buying-guide?srsltid=AfmBOooSG8kqsTgBguHNKqEXST5Wd3AW8_NwX6YRZwPd4mHF1YToDad1

wild.mile@outlook.com

Leave a comment